The quest for barbecue perfection.
This is something I’ve been chasing for years.
A method in which anyone can cook absolutely perfect barbecue and have incredibly consistent results every single time.
Well, thanks to modern science we now have a device that has been called the most important technological advancement in cooking since the microwave.
This device is used in upscale restaurants and steakhouses across the globe.
This device I am talking about is called a sous vide otherwise known as “under vacuum”.
In this article, we will uncover some of the history, versatility, and how we can use this device to make the absolute best barbecue some of you have ever eaten.
So sit down, hang tight, because we are cooking something good today.
There seems to be quite a bit of animosity in the BBQ community when you dare to bring up the words sous vide on a BBQ Forum.
Folks come out of the woodwork and state your boiling your meat and if that actually were the case then I’d get why folks would stay clear of this method.
However, this statement couldn’t be further from the truth.
In fact folks that demean the technique often don’t realize that this method of cooking is as ancient as barbecue in itself.
In ancient times meat was wrapped in salt, fat, leaves, and animal bladders before being cooked.
Sous vide in it’s current form though was developed at NASA in the 1960’s.
The scientists involved began to incorporate this concept into creating astronauts’ sealed bag meals.
In the 1970’s French chefs (whom already have popularized cooking in paper) adopted the technique of cooking in plastic.
From here the popularity of sous vide cooking spread to professional kitchens across the globe.
But it wasn’t till the 1990’s when scientists started to really study the deeper science behind sous vide processing.
By the mid 2000’s sous vide had been widely adapted and within the last decade the home chef has now been given access to devices that cost under $200.
At this point you must be thinking why on earth do I need another $200 appliance to add to my kitchen? Well this is where I’m going to make you a believer.
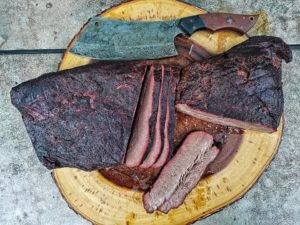
What if I told you that with this device you could successfully turnout a perfectly evenly cooked beef short rib plate with very minimal moisture loss and that you could reproduce these results every single time?
Have I peeked your interest yet?
In the barbecue world food is cooked low and slow.
The bark, the smoke, and the juices that dripple down your chin when you take that huge bite of delicious barbecue.
Well with sous vide we can actually achieve an even lower and slower cooking process without any risk of over cooking our food.
You will also eliminate evaporative moisture loss and drastically reduce oxidation.
You see with sous vide there is a very important part to the cooking process and that’s when you vacuum seal your protein.
Vacuum sealing does a few things for us.
One it doesn’t allow for much oxidation due to the removal of oxygen in the vacuum process.
Two is holds your moisture and doesn’t allow for evaporative moisture loss in the cooking process.
Three we can actually cook a protein like beef at temperatures as low as 130° and still safety pasteurize.
Four we can preserve the nutrients in food such as vegetables that would normally be destabilized.
Boiling vegetables can lose up to 60% of the nutrients and while some of that is due to temperature the other is from the water robbing your vegetables and leaving the nutrients behind in the standing water.
The appeal of sous vide comes with its ease and ability to precisely control the temperature at which the food is cooked.
By targeting a specific minimum temperature at which proteins denature, it is virtually impossible to overcook your food.
When food is cooked by traditional methods such as on the stovetop or in the oven, the outside of the food rises to temperatures that are much higher than the final desired temperature of the food.
This increases the risk of overcooking the outside (and inside) of the food in an attempt to reach the correct internal temperature.
By using sous vide, food is cooked for a longer period of time and at a lower temperature than usual and is raised uniformly to the same temperature.
This is why you can take a cut of beef like a brisket that is terribly uneven and still achieve the same internal temperature from point to flat.
When using extremely low temperatures which often fall within the danger zone its important to know about pasteurization.
Pasteurization is the process of bringing a food product up to a certain temperature and holding the temperature for a period of time in which all pathogens are destroyed.
The recommended cooking temperatures issued by the US Government are designed to kill all pathogens via pasteurization within one second.
With this being said a chicken cooked to 165° is no safer then a chicken cooked to 140° and held at 140° for 30mins.
Take a look at this chart below to gain an idea of pasteurization temps and times.
Once Heated, Beef is Pasteurized at:
130°F (54.4°C) for 2 hours
133°F (56.1°C) for 1 hour
138°F (58.9°C) for 18 minutes
145°F (62.8°C) for 4 minutes
Once Heated, Chicken is Pasteurized at:
140°F (60.0°C) for 30 minutes
145°F (62.8°C) for 12 minutes
150°F (65.6°C) for 4 minutes
With the knowledge of pasteurization and sous vide we can now incorporate the sous vide method with traditional smoking techniques to achieve some of the best tasting barbecue you’ve ever had.
When I purchased my first sous vide I knew the first cook was going to be a steak.
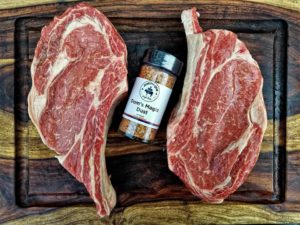
I ran to my local butcher and had her slice up a nice 1.5” inch porterhouse.
I took this steak home and set the temp to 135°.
I then generously seasoned my steak with our own all-purpose rub.
I then vacuum sealed the steak and dropped in the bath.
2 hrs later I removed the steak and quickly chilled it in an ice bath.
Once chilled I took my steak out of the package, patted it dry with paper towel and reasoned with our same all-purpose rub.
After seasoning I brought my cast iron griddle out to my Weber kettle and produced a nice hot fire so that I could sear this steak into oblivion.
The butter hit the cast iron and sizzled with fierce crackling fury and before it could burn I laid my steak in this puddle of sizzling greatness.
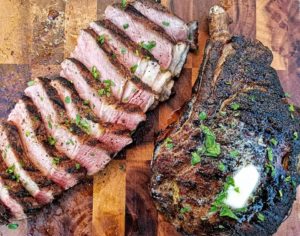
The temperature I produced on that griddle seared the steak perfectly within 1 min per side.
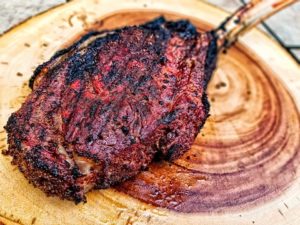
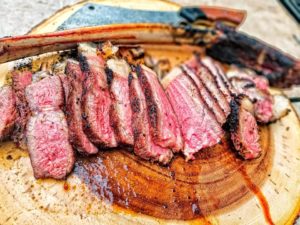
What I had placed on the plate was absolutely stunning.
Prior to cooking sous vide I had tried about every method of cooking a steak and mostly opted for the reverse sear method but even with this method I was still often left with a gray ring around the exterior of the steak with a nice pink interior.
With sous vide however this was not the case.
Instead, I was left with the most pristine interior I had ever seen.
The crust was unbelievable and every bite was straight ecstasy to my palate.
This one steak made me a believer and since then I’ve cooked numerous other proteins and have never been disappointed.
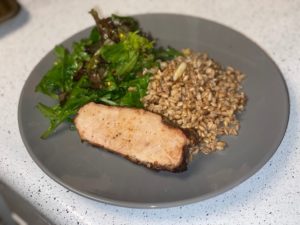
Salmon for one comes out like a velvety sashimi at low temperatures and pork chops seem impossible to overcook and dry out.
So after months of using this device it that had me thinking.
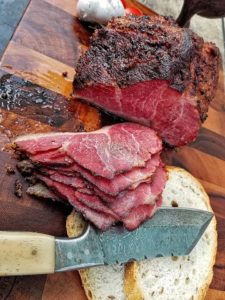
Let’s take this sous vide q into another direction and let’s see what we can do with a Chuck Beef Short Rib plate.
So I checked a few online sources for what temp and time table I wanted to use.
After the research I decided to go for a traditional texture and opted to sous vide at 160° for 24hrs.
So for this experiment I wanted to do something really different and I wanted someone else to cook these ribs.
I wanted someone whom has had no interaction with a sous vide other then maybe a meal prepared sous vide.
So for this experiment I asked my wife if she would be willing to be the chef for this.
In our household I cook roughly 90% of the dishes we consume and she has never touched the sous vide.
I would only assist in the trimming process and vacuum sealing other then that she would handle the rest.
So I began by instructing her how to season the meat.
Worcheshire sauce along with our all-purpose rub Dom’s Magic Dust would be used on the exterior and then vacuum sealed.
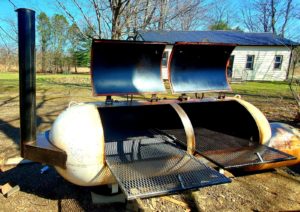
The package would then be placed in a water filled Cambro container with a wire rack at the bottom (this would ensure that the water would circulate around the entire rib) and the temperature was set to 160°.
Next was the waiting game because for sous vide to do it’s real magic it needs to cook and cook and cook and cook for what seems like forever and for us that forever moment ended at the 24hr mark.
The package would then be removed from the 160° water and immediately shocked in a ice bath for rapid cooling and eventually made it’s way into the fridge overnight.
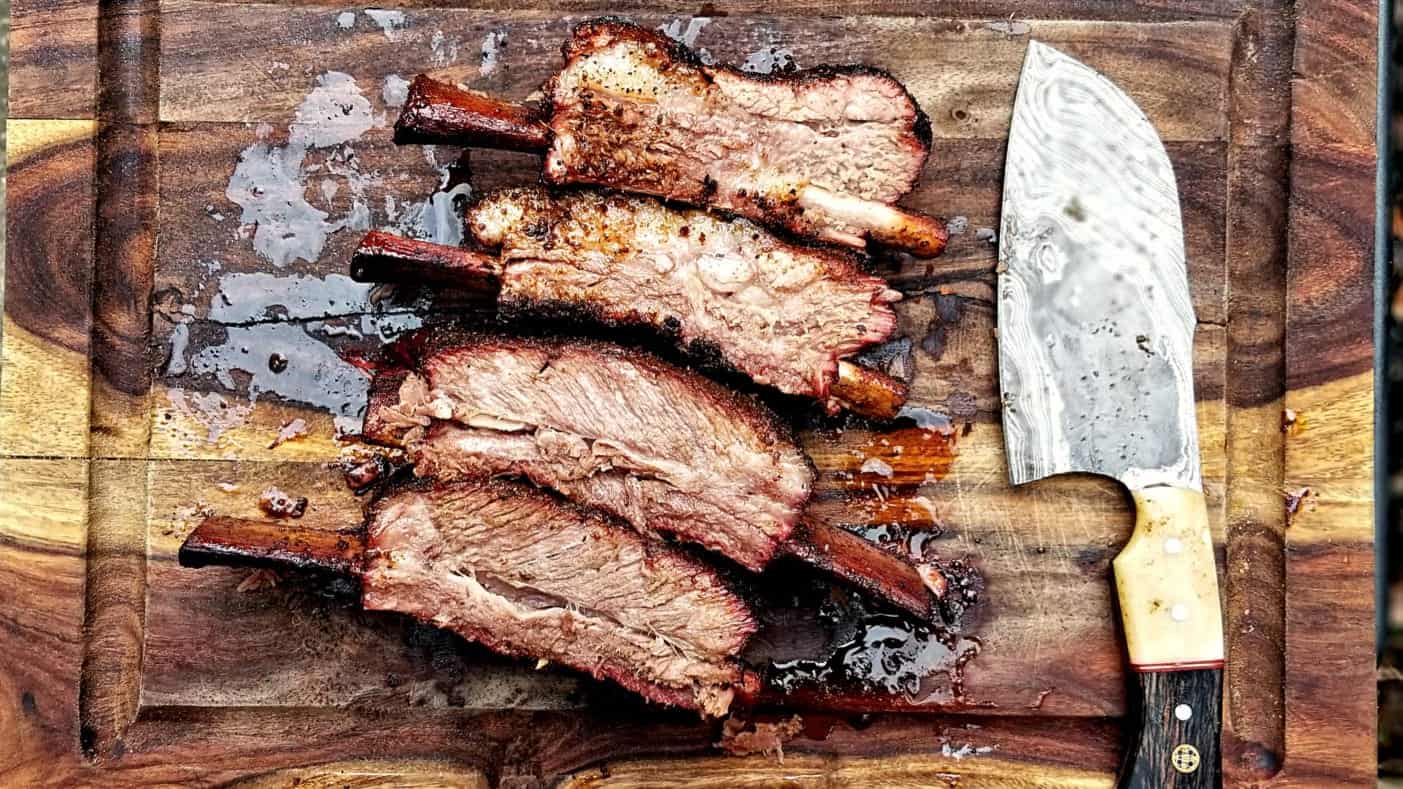
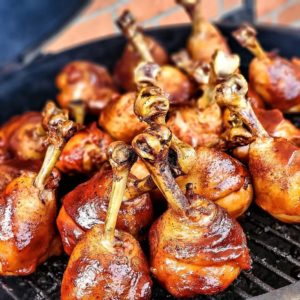
The following day a nice bed of coals was graced with chunks of Mesquite and Cherry wood and the rib was removed from its package and wiped down with paper towels.
A reapplication of the same all-purpose rub was used and then the ribs were placed on the smoker at 225° for 2 hours.
After that 2 hr mark the Rib reached an internal temp of 145°.
The color on was absolutely spot on and the crust…
Oh the crust was simply incredible.

Thanks to Jacob for this wonderful and informative article!
You if you think you’re ready to start your Sous vide journey, we recommend to do it with the Inkbird Sous vide Cooker


Recipe by Pitmaster Shane Hauck Smoked Pork Center cut Loin (watermelon tea/fennel brine) Prep: 24 hours+ Cook: 2 hours, 30 minutes Ingredients: 2-3 lb pork
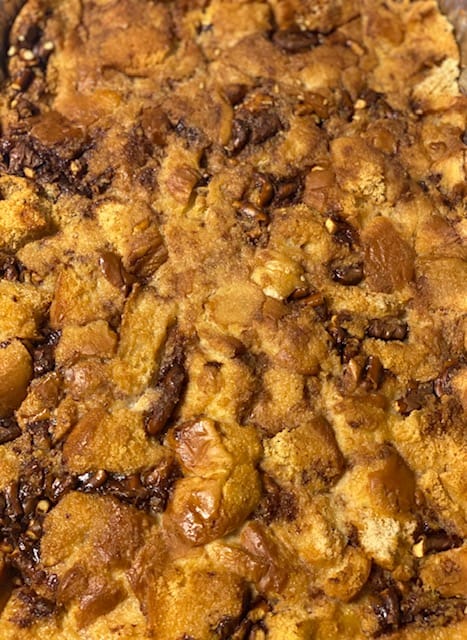
Recipe by Pitmaster Shane Hauck Smoked Chocolate Covered Pretzel Bread Pudding Prep: 2 hours Cook: 1 hour Yield: 13×9 tray Ingredients: 3 cups milk 3

Smoked Salsa Cooking Method: Slow Cooker Cooking Time: 2 h to 3 h INGREDIENTS 8 Medium tomatoes, cut in half and core removed 2 ½